
The first step is to open up the main ballast tank floods. I attacked the job armed with a Dremel tool, sanding drum bit and particle mask. The nice thing about this particular chore is it doesn't require a lot of finesse.

Next, the upper hatches were opened up. This allows air to escape the hull during diving. Trapped bubbles can cause a boat to hang on a dive or throw off submerged trim. Therefore, they must be given a straightforward path to escape.

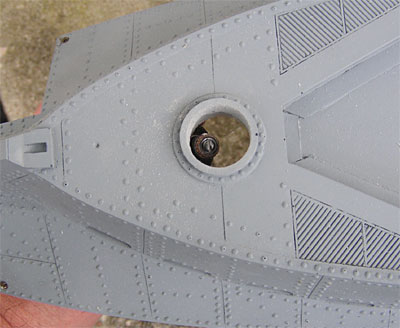
The forward hatch is also opened up. I worked from below on this one. Eventually the deck grates will be opened up as well.
A look inside the hull. All the MBT floods are open along with the diver access hatch. CR makes a stout hull and 1/32 scale provides ample elbow room to work on the WTC installation.


0 comments:
Post a Comment